Physical Address
304 North Cardinal St.
Dorchester Center, MA 02124
Physical Address
304 North Cardinal St.
Dorchester Center, MA 02124
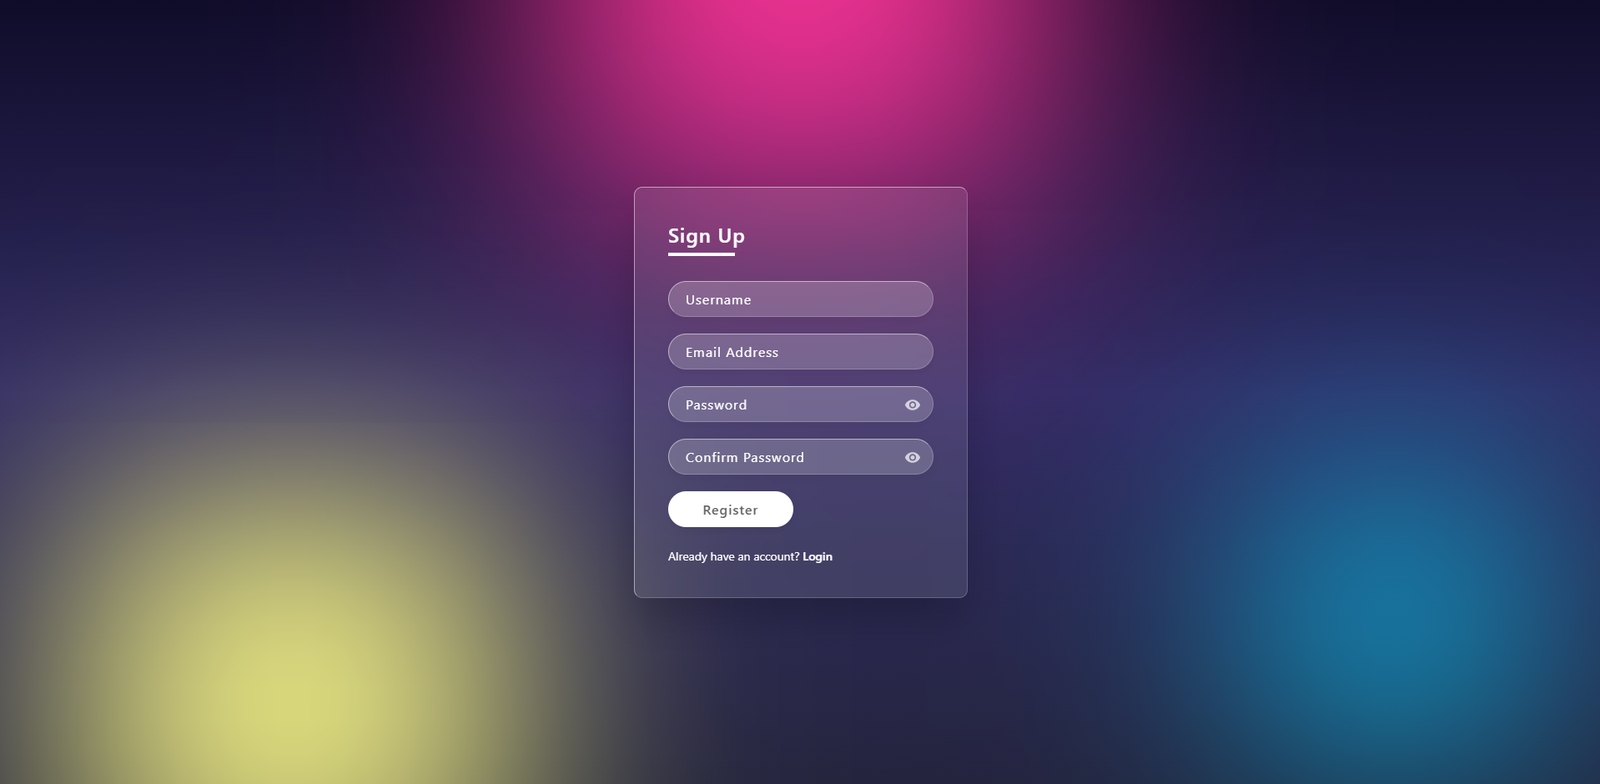
In modern web development, creating a unique user experience is key. One of the most popular trends is Glassmorphism, a design style characterized by a “frosted glass” effect. In this tutorial, we will walk through the structure and styling of a custom Glassmorphism register form that is fully responsive and requires no external libraries.
By the end of this guide, you will have a sleek registration form with built-in JavaScript validation for password matching.
Glassmorphism adds depth and visual hierarchy to your project. Unlike standard flat designs, this style uses transparency and background blur to create a premium feel. It’s perfect for portfolios, landing pages, or modern web applications.
To begin, you will need two files: style.css (for the frosted glass styling) and register.html for the structure. If you missed our previous tutorial on the login page, make sure to link your existing stylesheet to this new page. If you will not create style.css file click here to Download style.css file:
This file contains the layout for your registration form. We have included essential fields: Username, Email Address, and a “Confirm Password” field to ensure data accuracy.
<!DOCTYPE html>
<html lang="en">
<head>
    <meta charset="UTF-8">
    <meta name="viewport" content="width=device-width, initial-scale=1.0">
    <title>Register Account | Glassmorphism UI</title>
    <link rel="stylesheet" href="style.css">
</head>
<body>

    <section>
        <div class="color"></div>
        <div class="color"></div>
        <div class="color"></div>

        <div class="box">
            <div class="container">
                <div class="form">
                    <h2>Sign Up</h2>
                    <form onsubmit="return validateForm(event)">

                        <div class="inputBox">
                            <input type="text" placeholder="Username" required>
                        </div>

                        <div class="inputBox">
                            <input type="email" placeholder="Email Address" required>
                        </div>

                        <div class="inputBox">
                            <input type="password" id="regPassword" placeholder="Password" required>
                            <div class="eye-icon" onclick="toggleRegPassword('regPassword')">
                                <svg width="20px" height="20px" viewBox="0 0 24 24" fill="none" xmlns="[http://www.w3.org/2000/svg](http://www.w3.org/2000/svg)">
                                <path d="M12 4.5C7 4.5 2.73 7.61 1 12c1.73 4.39 6 7.5 11 7.5s9.27-3.11 11-7.5c-1.73-4.39-6-7.5-11-7.5zM12 17c-2.76 0-5-2.24-5-5s2.24-5 5-5 5 2.24 5 5-2.24 5-5 5zm0-8c-1.66 0-3 1.34-3 3s1.34 3 3 3 3-1.34 3-3-1.34-3-3-3z" fill="#fff"/>
                                </svg>
                            </div>
                        </div>

                        <div class="inputBox">
                            <input type="password" id="confirmPassword" placeholder="Confirm Password" required>
                            <div class="eye-icon" onclick="toggleRegPassword('confirmPassword')">
                                <svg width="20px" height="20px" viewBox="0 0 24 24" fill="none" xmlns="[http://www.w3.org/2000/svg](http://www.w3.org/2000/svg)">
                                <path d="M12 4.5C7 4.5 2.73 7.61 1 12c1.73 4.39 6 7.5 11 7.5s9.27-3.11 11-7.5c-1.73-4.39-6-7.5-11-7.5zM12 17c-2.76 0-5-2.24-5-5s2.24-5 5-5 5 2.24 5 5-2.24 5-5 5zm0-8c-1.66 0-3 1.34-3 3s1.34 3 3 3 3-1.34 3-3-1.34-3-3-3z" fill="#fff"/>
                                </svg>
                            </div>
                        </div>

                        <div class="inputBox">
                            <input type="submit" value="Register">
                        </div>

                        <p class="forget">Already have an account? <a href="index.html">Login</a></p>
                    </form>
                </div>
            </div>
        </div>
    </section>

    <script>
        function toggleRegPassword(fieldId) {
            var input = document.getElementById(fieldId);
            input.type = (input.type === "password") ? "text" : "password";
        }

        function validateForm(event) {
            event.preventDefault();
            var pass = document.getElementById('regPassword').value;
            var confirmPass = document.getElementById('confirmPassword').value;

            if (pass !== confirmPass) {
                alert("Passwords do not match!");
                return false;
            }
            alert("Registration Successful!");
            window.location.href = "index.html";
        }
    </script>
</body>
</html>
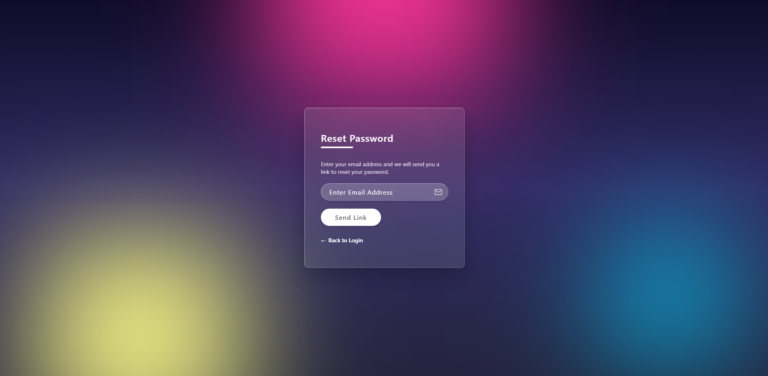
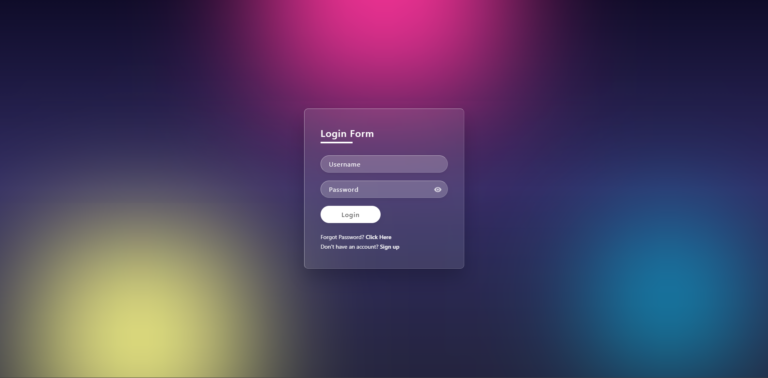
To finish your Glassmorphism project, you must connect your Login page to the new Registration page. This ensures a smooth user journey across your site.
index.html file.href attribute to point to your new file: <a href="register.html">Sign up</a>Building a Glassmorphism register page is an excellent way to practice your frontend skills while creating something visually stunning. By following this tutorial, you’ve implemented advanced UI techniques and basic client-side security with JavaScript.
To further improve your project, consider these tips:
backdrop-filter.Congratulation!🎉 Your Login System has been completed.
Happy coding! 🌞
A registration page allows new users to create an account by providing basic details like username, email, and password. It’s a core part of any authentication system and works together with the login and forgot password pages.
No. This registration form is built using pure HTML, CSS, and JavaScript. The glassmorphism effect is achieved with native CSS properties, keeping the project lightweight and easy to customize.
The eye icon triggers a JavaScript function that switches the input type between password and text. This allows users to view or hide their password while typing, reducing errors during registration.
If the Password and Confirm Password fields do not match, a JavaScript alert is shown and the form submission is stopped. This basic client-side validation helps prevent user mistakes before sending data to a server.
This example is intended for frontend demonstration purposes. For real-world use, password validation, storage, and user registration should be handled securely on the backend using hashing and proper authentication methods.