Physical Address
304 North Cardinal St.
Dorchester Center, MA 02124
Physical Address
304 North Cardinal St.
Dorchester Center, MA 02124
XAMPP is a completely free, open-source software package that allows you to set up a functional local web server on your personal computer. Think of it as a personal, fully-contained server environment for development and testing all without needing an internet connection. In this Blog Article I will explain you how to Install XAMPP in 5 Minutes: Easy Guide
The main advantage of XAMPP is that it lets you simulate a live, production web hosting environment instantly and easily.
⚠️ A Crucial Safety Warning: XAMPP is configured for maximum ease and speed of local development, meaning many standard security features are intentionally disabled or simplified. Never use XAMPP as a public, production web server.
Our comprehensive tutorial focuses on the installation process for Windows, as it has a few specific caveats. The process on Mac OS X and Linux is similar but may have slightly different steps.
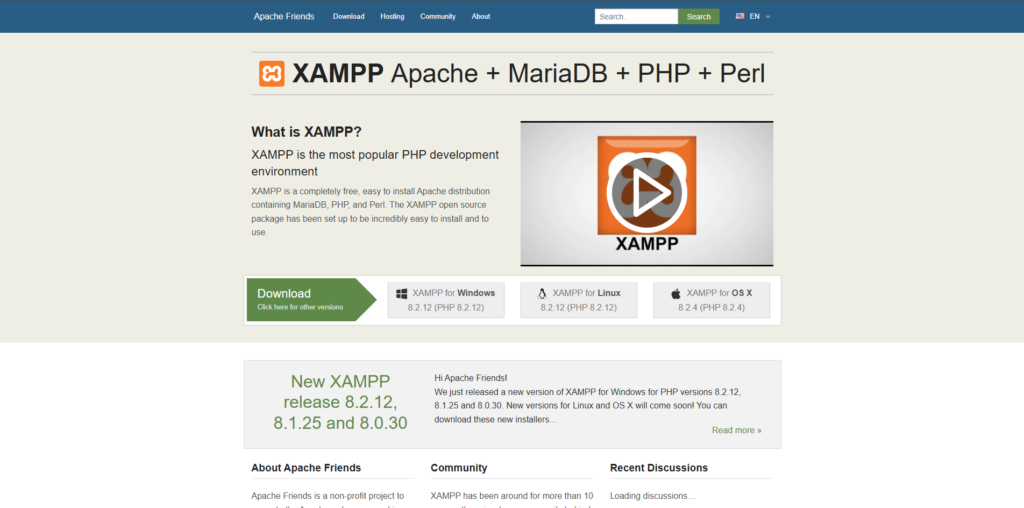
Navigate to the official Apache Friends website and download the latest version of XAMPP that includes the PHP version you need for your project.
Before running the installer, it’s highly recommended to perform two quick checks to prevent common installation errors:
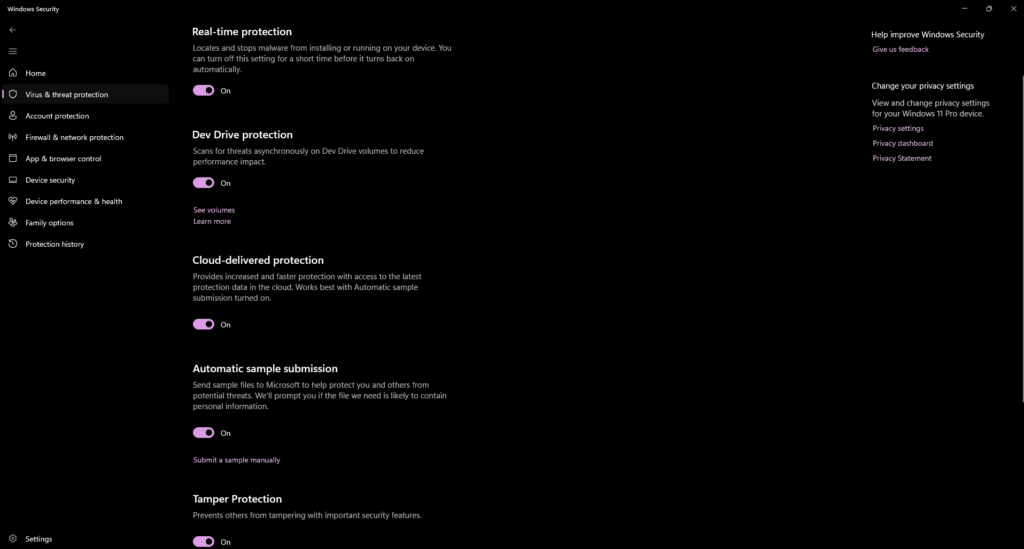
Active antivirus programs can sometimes misinterpret the changes XAMPP makes to your system files or ports, causing the installation to fail. Temporarily pause your antivirus software until the installation is complete.
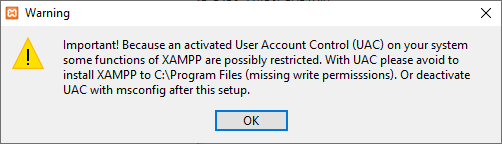
Once you’ve downloaded the installer, run it. If you have User Account Control (UAC) enabled, the XAMPP installer will recommend you not to install it into the Program Files folder. Acknowledge this recommendation by clicking OK.
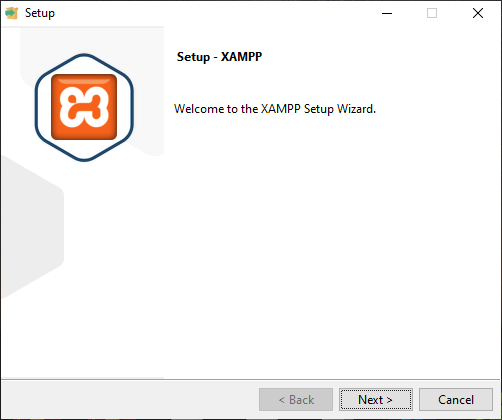
Double-click the downloaded .exe file to start the XAMPP Setup Wizard. Click “Next” to continue.
In the “Select Components” window, you will see a list of modules. For a complete local test environment, it is best practice to keep the standard setup with all components selected. Click “Next.”
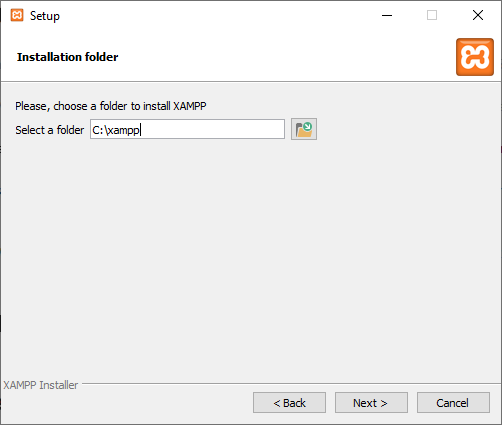
The default location, C:\xampp, is the standard and recommended directory. Avoid installing it in C:\Program Files as UAC restrictions might cause issues later. Select your folder and click “Next.”
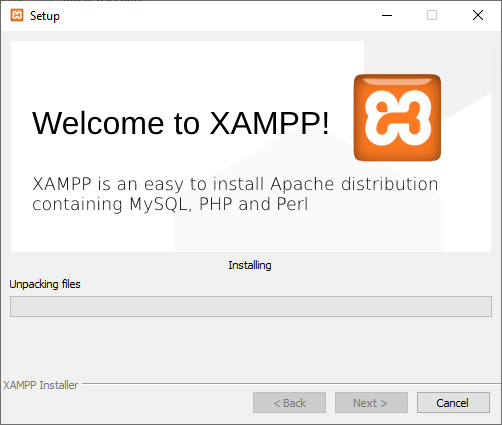
After selecting your language preference, click “Next” to begin the installation. The setup wizard will unpack and install all selected components. This process may take several minutes.
During the process, the Windows Firewall may ask to block some XAMPP components, specifically the Apache server. You must allow access for your private or work networks so that you can access the server via localhost.
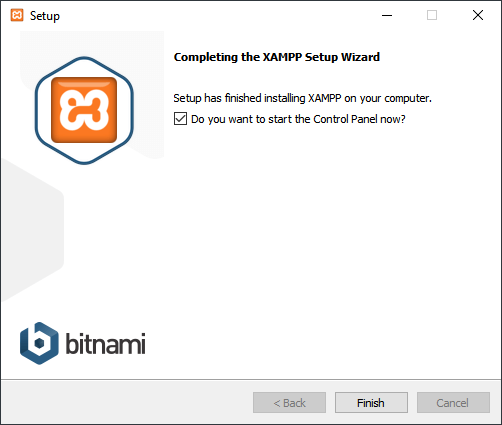
Once the files are unpacked and configured, you will see the final completion screen. Check the box to open the XAMPP Control Panel immediately, and then click “Finish.”
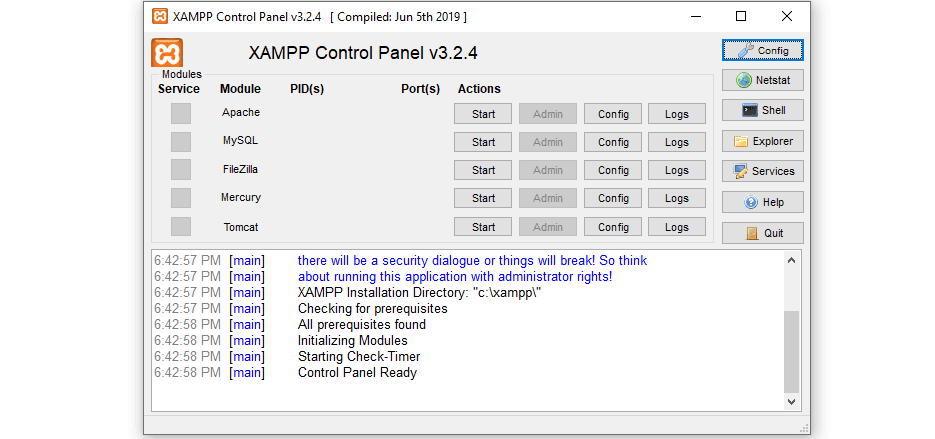
The Control Panel is the command center for your local server. It provides a clear user interface to manage all modules, log actions, and start or stop services with a single click.
To run a web project, you must start the Apache (the web server) and MySQL (the database) modules.
When a module is running successfully, its name will be highlighted in green, and the “Start” button will change to “Stop.”
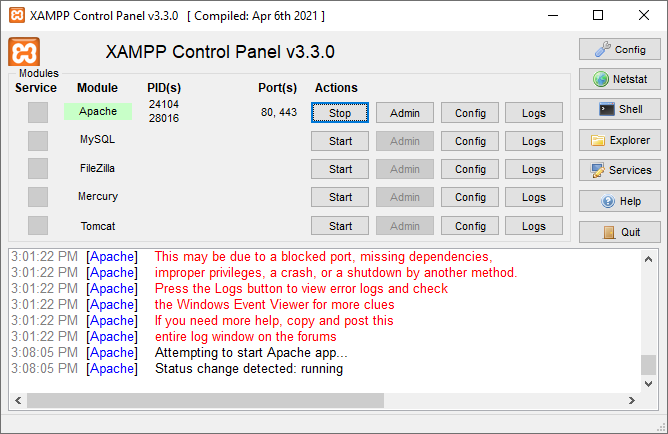
A very common issue is a port conflict, where another program is already using the ports XAMPP needs (Port 80 for standard HTTP and Port 443 for SSL).
If a module fails to start, the name will turn red, and an error will appear in the log. If you see an error related to port 80 or 443, the problem is a conflict (often caused by programs like Skype, IIS, or other web services).
For each module, there is an “Admin” button that provides quick access to its web-based interface:
The final step is to verify that Apache and PHP are working together correctly.
Inside htdocs, create a new folder (e.g., mytestproject).
Inside mytestproject, create a new text file using a code editor (like Notepad++, VS Code, etc.), and name it test.php.
Paste the following simple PHP code into the file and save it:
PHP
<html>

<head>

    <title>PHP-Test</title>

</head>

<body>

    <?php echo '<h1>Hello World! XAMPP is working!</h1>'; ?>

</body>

</html>Open your web browser and enter the following URL, using the folder and file names you just created:
http://localhost/mytestproject/test.php
If your browser window displays the large heading “Hello World! XAMPP is working!” then you have successfully installed and configured your local test server! You are now ready to start developing.
XAMPP is used to create a local server environment on Windows. It allows you to run PHP applications, manage MySQL databases, and test websites locally before publishing them online.
Yes, XAMPP is completely free and open-source. You can use it for learning, development, and testing without any cost or license restrictions.
Yes, XAMPP works perfectly on Windows 10 and Windows 11. Just make sure you download the latest version from the official website for best compatibility.
No, once XAMPP is installed, you do not need an internet connection to run your local server. All services run directly on your computer.
You should place your website files inside the htdocs folder, located at:C:\xampp\htdocs
Each project should be in its own folder for easy access.